Autumn Colour
-
Mike Farley
- Posts: 7316
- Joined: Tue 11 Sep 2012, 16:38
- Contact:
Re: Autumn Colour
On the way down to the boathouse there were some trees where the leaves were being backlit.
- Attachments
-
- Backlit leaves
- Winkworth Arboretum (1 of 3).jpg (147.98 KiB) Viewed 3861 times
-
Mike Farley
- Posts: 7316
- Joined: Tue 11 Sep 2012, 16:38
- Contact:
Re: Autumn Colour
A view of the boathouse. From memory, I used a 0.6 hard neutral density graduated filter for the sky and it might have been better to have used a soft one. It was either that or I slightly overdid the polariser and left the sky a bit uneven.
- Attachments
-
- Boathouse
- Winkworth Arboretum (3 of 3).jpg (136.03 KiB) Viewed 3861 times
-
Mike Farley
- Posts: 7316
- Joined: Tue 11 Sep 2012, 16:38
- Contact:
Re: Autumn Colour
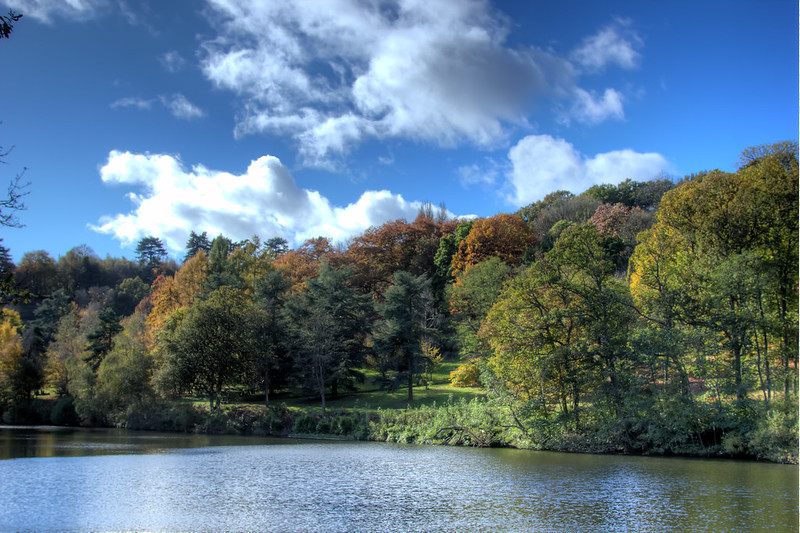
A view of the trees by the lake.
- Attachments
-
- Lakeside Trees
- Winkworth Arboretum (2 of 3).jpg (154.41 KiB) Viewed 3861 times

Re: Autumn Colour
Great trip out and thanks to Mike for organising. Unfortunately the majority of my shots have come out well below par 
Here are some of the less rubbish ones (and even these are flawed). Mike - might need some tips on using the ND Grads because even though I made a note of the shots I used it on, I cannot tell the difference between that and the next shot without.
Anyway -
River view by cedarsphoto, on Flickr
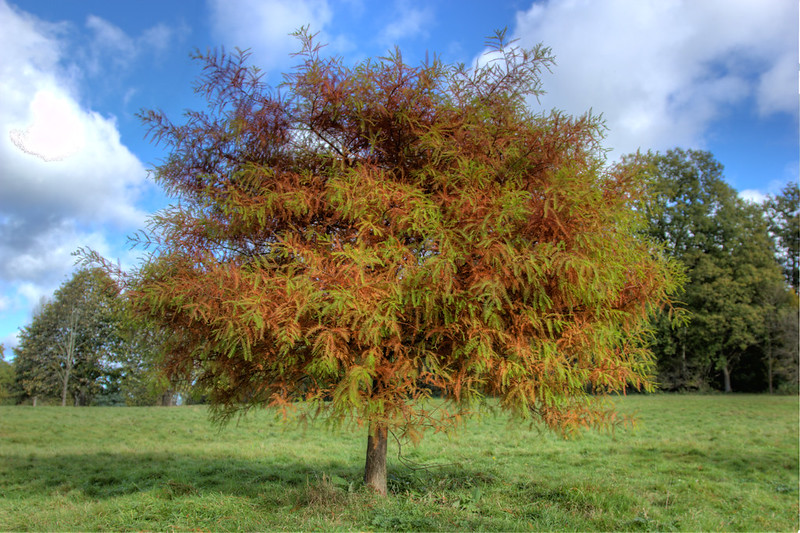
Winkworth Tree by cedarsphoto, on Flickr
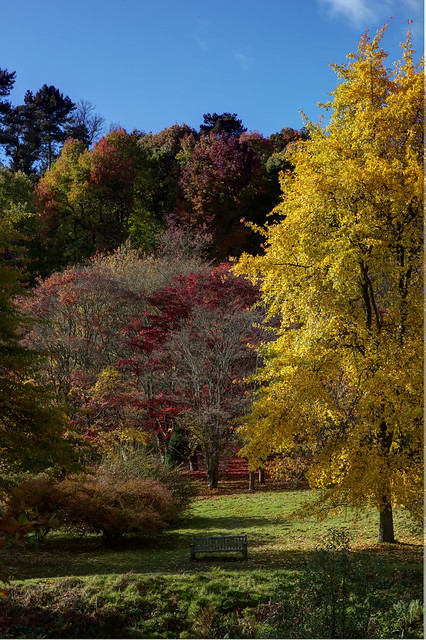
Winkworth Tree Seat by cedarsphoto, on Flickr
Sadly tons and tons of images were blurry
Here are some of the less rubbish ones (and even these are flawed). Mike - might need some tips on using the ND Grads because even though I made a note of the shots I used it on, I cannot tell the difference between that and the next shot without.
Anyway -
River view by cedarsphoto, on Flickr
Winkworth Tree by cedarsphoto, on Flickr
Winkworth Tree Seat by cedarsphoto, on Flickr
Sadly tons and tons of images were blurry
Re: Autumn Colour
Mike how did you achieve the black background on your backlit leaves?
-
Mike Farley
- Posts: 7316
- Joined: Tue 11 Sep 2012, 16:38
- Contact:
Re: Autumn Colour
davidc wrote:Mike - might need some tips on using the ND Grads because even though I made a note of the shots I used it on, I cannot tell the difference between that and the next shot without.
David
If you cannot tell whether or not you have used a filter for any given shot, then it must mean that you have ascertained the scene well, made a correct decision about whether a filter is necessary and then used it correctly when it has been required.
Your first shot looks as though a ND grad has been used as the top of the sky is darker than the rest and the cloud just on the right also looks to be slightly darker than it would have been in the scene. The tree line is at an angle, but you appear to have placed the filter horizontally so that not all the sky has been covered by the neutral density part of the filter. Whilst the exposure for the sky and cloud at the top of the image has been held back, the lower portion of the sky is paler than it is higher up and the cloud on the left just above the trees has blown highlights.
As I wrote in my Boathouse shot, filter selection and positioning is not always straightforward. Getting the filters exactly right can be very fiddly as it is often difficult to see the dividing line between the neutral density and clear portions of the filter. It is easier with a hard filter where the division is more distinct, almost impossible with a soft ND grad, although the more gradual transition means that precise positioning is less important. A certain amount of trial and error might be necessary, although the ability to chimp on a digital camera makes the task a bit easier.
Then there is the question of exposure. Ideally, a spot meter reading should be taken of the sky and the midtone of the rest of the scene to determine the strength of the filter required. Then a manual exposure should be calculated based on those two readings and the selected filter. In practice, I simply assess the scene when choosing the filter and let aperture priority metering do the rest, repostioning the filter or using exposure compensation if the result is not quite right. On Saturday everything in the scene was quite bright, so I opted to use my 0.6 filters only. Bracketing is also a good idea.
The general consensus among professionals is that hard ND grads are more useful than soft. The advice I received from Lee Frost when I purchased mine was to go for a set of hard ND grads (0.3, 0.6, 0.9) and a soft 0.6. This has served me well, although the 0.3 hard grad has seen less use than the others. It can be useful when combined with one of the others to strengthen the effect where required.
One further tip is to take a notebook with you when shooting and write down the filters used for each exposure so that you have a record when reviewing the images later. Apart from anything else, it will help you learn what works best in any given situation.
Re: Autumn Colour
Mike Farley wrote:davidc wrote:Mike - might need some tips on using the ND Grads because even though I made a note of the shots I used it on, I cannot tell the difference between that and the next shot without.
David
If you cannot tell whether or not you have used a filter for any given shot, then it must mean that you have ascertained the scene well, made a correct decision about whether a filter is necessary and then used it correctly when it has been required.
Haha the problem is I took two shots of exactly the same scene, back to back, one without the filter and one with it - and I can't for the life of me see the difference between the two. Maybe my grad isn't strong enough to tell, and it is a soft transition.
-
Mike Farley
- Posts: 7316
- Joined: Tue 11 Sep 2012, 16:38
- Contact:
Re: Autumn Colour
davidc wrote:Mike how did you achieve the black background on your backlit leaves?
It was mainly down to the exposure, with some post capture tweaking in Lightroom and Photoshop. The leaves were so bright that the darker background was rendered almost black. I have included the original shot with this post, which is the Raw file exported from Lightroom with the default Develop settings, so that you can see my starting point. In Lightroom, I adjusted the Shadows and Black sliders, together with the Tone Target Adjustment tool to make the background darker, although these actions did also have an effect on contrast.
You will note that in the original, the leaves on the left are touching the edge of the frame and there is still a lighter area at bottom right which I could not entirely eliminate with Lightroom's global adjustment tools. I could have used the Adjustment Brush to alter the exposure in that part of the image, but the it needed additional processing which Lightroom could not provide, so I completed the processing in Photoshop. A 1 cm strip down the left side filled with black was all that was needed. I did experiment with Content Aware Fill, but could not get a result which was exactly what I was after. Just above the top leaf on the left, there was a brighter area from a partial out of focus leaf and Content Aware Fill coped with that. In this instance cloning would have done just as well. Finally, I selected the area at bottom right which was not quite black and filled that.
If you were to say that it would have been simpler to have reshot and composed so that the leaves were not at the edge of the frame, you would be right. In fact, that was exactly what I did but I did not like the second image as much. Fortuntately, on this occasion it was straightforward to make the necessary changes and salvage the situation. I was lucky that the leaves were just inside the frame, but if they had not been there would have been options to clone the tips from another leaf which was whole or take them from my second shot. Normally, it is best to get the image right in camera as trying to retrieve the situation afterwards in Photoshop can be a right royal pain.
- Attachments
-
- Backlit leaves - original capture
- Backlit leaves original.jpg (154.52 KiB) Viewed 3852 times
Re: Autumn Colour
Interesting, I have some similar shots but wasn't 100% sure how to correctly darken the background. As you suggest I was trying it in camera but it wasn't coming out *black* (as I wanted) so knowing how to achieve it in PS is of great help!
-
Mike Farley
- Posts: 7316
- Joined: Tue 11 Sep 2012, 16:38
- Contact:
Re: Autumn Colour
As an experiment, I converted the image of the backlit leaves to mono.
- Attachments
-
- Backlit Leaves Mono.jpg (122.14 KiB) Viewed 3846 times
Who is online
Users browsing this forum: No registered users and 3 guests